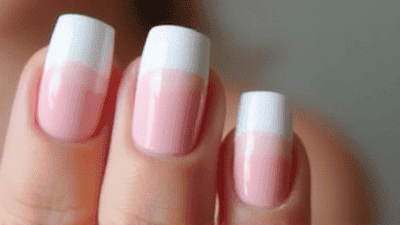
In the world of beauty and self-expression, nail art has become a vibrant canvas for creativity. Among the dazzling array of styles, neon nail art stands out for its energy and boldness. The neon trend has been consistently captivating, appealing to those who want to make a striking statement with their manicures. Whether you’re heading to a summer festival, a night out, or simply want to brighten up your day-to-day style, neon nails offer endless possibilities. This blog post will provide you with vibrant and bold nail art inspiration, exploring various techniques, designs, and tips to help you embrace the neon dream.
Neon nail art is characterized by its bright, eye-catching colors that glow under UV light. Here are several reasons why neon colors are a favorite among nail art enthusiasts:
Neon colors are bright and vibrant, easily catching the eye wherever you go. Whether it's a sunny day at the beach or a night out in the city, neon nails are sure to stand out.
Bright colors evoke feelings of joy and excitement, making them perfect for self-expression. Neon nails allow you to showcase your personality and mood, creating a playful vibe.
Neon nail art is versatile; it can be toned down for casual outings or amplified for parties and festivals. The adaptability of neon colors makes them an excellent choice for any event.
The vibrancy of neon colors encourages experimentation. You can mix and match with various designs, from geometric patterns to intricate details, to create unique works of art on your nails.
Neon colors are often associated with summer and spring, making them a popular choice for warm-weather fashion. However, they can be adapted for any season and paired with different aesthetics.
Before diving into neon nail art, proper preparation is essential to ensure a flawless manicure. Here’s a step-by-step guide to get your nails ready:
Collect all the necessary tools and products before you start. Here are some items you’ll need:
Start by removing any old nail polish and washing your hands. Then, trim and shape your nails to your desired length. Popular shapes include square, round, and almond.
Use a cuticle pusher to gently push back your cuticles, creating a neat appearance around your nails.
Lightly buff the surface of your nails to remove any ridges and create a smooth canvas for polish application.
Apply a thin layer of base coat and let it dry completely. This step is crucial for protecting your nails and ensuring longevity for your neon polish.
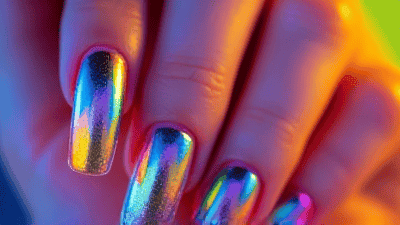
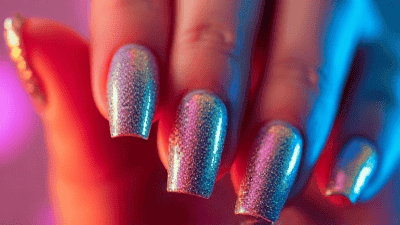
Neon nail art opens up a world of creative possibilities. Here are some popular techniques that can elevate your neon manicure:
The ombré technique blends two or more colors to create a beautiful gradient effect.
Geometric designs are trendy and versatile, allowing you to mix and match colors creatively.
Creating dotted or lined designs adds a playful touch to your neon manicure.
Accent nails allow you to feature bold designs while keeping the overall look cohesive.
Nail stamping is a fantastic method for achieving intricate designs quickly.
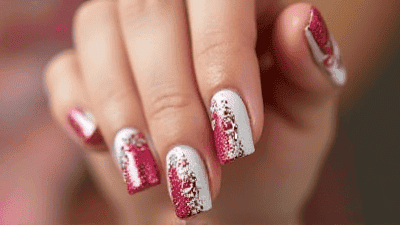
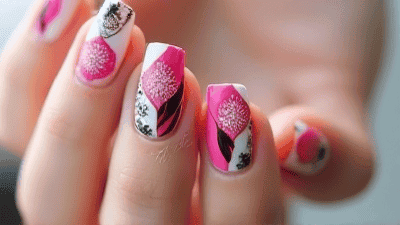
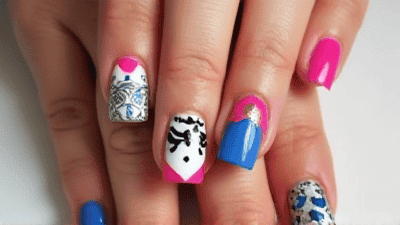
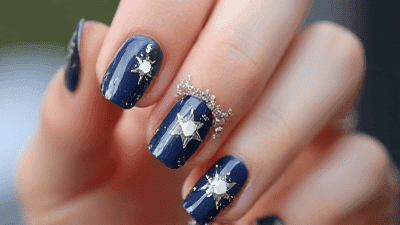
To spark your creativity, here's a variety of nail art designs you can try, showcasing the vibrant world of neon.
Create a mesmerizing galaxy effect using neon colors against a dark background.
Capture the essence of summer with a tie-dye design.
Add a lively touch to your nails with floral designs featuring neon colors.
Spice up your manicure with fun animal prints using neon colors.
Create an eye-catching marble effect using bright neon colors.
As you embark on your neon nail art journey, you may encounter a few challenges. Here are some common issues and their solutions:
If your neon polish appears streaky, try applying thin layers and allowing each coat to dry fully before adding another layer. Quality nail polishes typically provide better coverage.
If you notice bubbles in your polish, avoid shaking the bottle too vigorously; instead, roll it between your palms to mix gently. Apply polish slowly and evenly to reduce bubbles.
To avoid smudging, ensure each layer is completely dry before moving on to the next step. Consider using a quick-dry top coat to secure your designs.
If your dotting tool or brush isn’t working as expected, ensure that the polishes are at the right consistency. If they are too thick, they may not flow easily. Consider adding a few drops of polish thinner if necessary.
For easier cleanup, use tape or liquid latex around your cuticles before starting your nail art. If you get polish on your skin, dip a small brush or q-tip in acetone and gently clean the area.

To keep your vibrant neon nails looking their best, follow these care tips:
Apply cuticle oil daily to keep your cuticles hydrated and maintain healthy nails. This prevents dryness and ensures your nails look fresh.
Wear gloves when doing household chores or using harsh chemicals to avoid damage and discoloration.
Apply touch-up coats of top coat to preserve the shine of your neon nails and protect them from chips. A quick-dry top coat can save time.
When possible, avoid prolonged exposure to water, as it can weaken the polish and lead to chips.
Allow your nails to rest between manicures by removing the polish for a few days. This helps prevent staining and keeps your nails healthy.
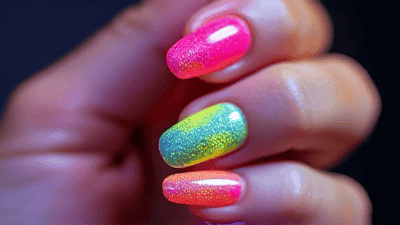
To further inspire your neon creations, here are some trendy color combinations to consider for your next manicure:
A lively, summer-ready palette that screams fun. Perfect for beach days and sunny outings.
For a bold and energetic look, combining these two colors creates a striking contrast that is sure to turn heads.
This combination offers a tropical feel, ideal for summer festivals or parties.
For a more mysterious vibe, pairing these colors creates an enchanting and dreamy effect.
Use an assortment of neon colors for a playful, whimsical manicure that showcases all your favorites.
As neon colors continue to dominate the nail art scene, several trends work harmoniously with them. Here’s a look at complementary trends to consider integrating with your neon designs:
Abstract designs featuring organic shapes and lines pair beautifully with neon colors. Use bold lines in black or white to create contrast and depth.
Experiment with matte and glossy effects. Combine a matte neon polish with glossy accents or vice versa for a unique twist.
Incorporate negative space into your designs for a modern and chic look. Leave parts of your nails unpainted to create interesting shapes against the neon colors.
Combine neon nail art with accessories like rhinestones, studs, or foils for added flair and dimensionality.
Tailor your neon designs to fit seasonal themes. Pair neon colors with seasonal elements—like pumpkins in the fall or snowflakes in winter—for creative seasonal nail art.
Neon nail art is an exciting blend of creativity, color, and style, allowing you to express your personality and feelings boldly. From versatile geometric designs to playful floral patterns, the possibilities are endless.
As you explore the vibrant world of neon nails, remember to have fun and let your creativity shine. Experiment with different techniques, colors, and styles until you discover what resonates with your unique aesthetic.
Gather your tools, embrace the electrifying energy of neon colors, and dive into a world filled with brilliant nail art inspiration. Whether you’re attending a party or enjoying a casual day out, neon dreams will undoubtedly add a bit of brightness to your life.